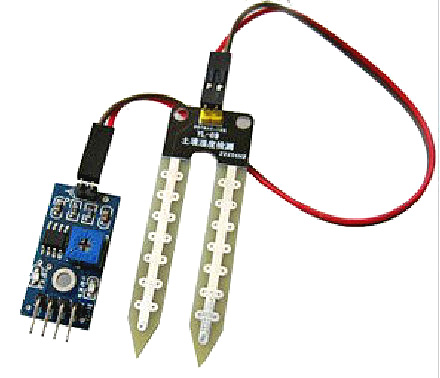
The ability to measure soil moisture levels accurately is an essential aspect of modern farming. Moisture sensors are used to provide farmers with real-time information on the moisture content of their soil, helping them to make informed decisions about irrigation, fertilization, and other farming practices. Arduino is a popular open-source electronics platform that can be used to interface with moisture sensors and other agricultural sensors, making it an ideal tool for modern farming.
In this article, we will explore how to interface a moisture sensor with an Arduino. We will discuss the materials and tools you will need, the steps to follow, and some tips and tricks to ensure success.
Also read
Component Required
- Moisture Sensor Module
- Arduino UNO
- Motor for irrigation(here we use LED for Testing)
- PC
Objectives
- To Calculate the Moisture Level in Soil

Connect the component as shown in the figure.Connect A0 pin of sensor to A0 pin of Arduino , VCC to 3.5V and GND pin to GND pin of Arduino. Connect led in 12 pin of arduino to view the output.
Code
int led =13;int Moisture_sensor = A0;
void setup()
{ pinMode(led,OUTPUT);
pinMode(Moisture_sensor,INPUT);
Serial.begin(9600);
}
void loop()
{
int value = analogRead(Moisture_sensor);
{
Serial.println(value);
if (value>500)
{
digitalWrite(led,HIGH);
}
else
{
digitalWrite(led,LOW);
}
}
}
Sensor show its value low in the presence of moisture and its value is gradually increase in the absence of moisture. When the sensor reading is higher then 500 then the LED is turn ON .


Discussion (5)
Share Your Thoughts